To find and preview videos, images and other files in the Car Care Hub system, click on Content from the left side menu on the screen. Here you'll find all files or assets from the AutoNetTV library, from your Corporate affiliation (if you have one, and if they have added content), and content uploaded or created specifically for your Program(s).
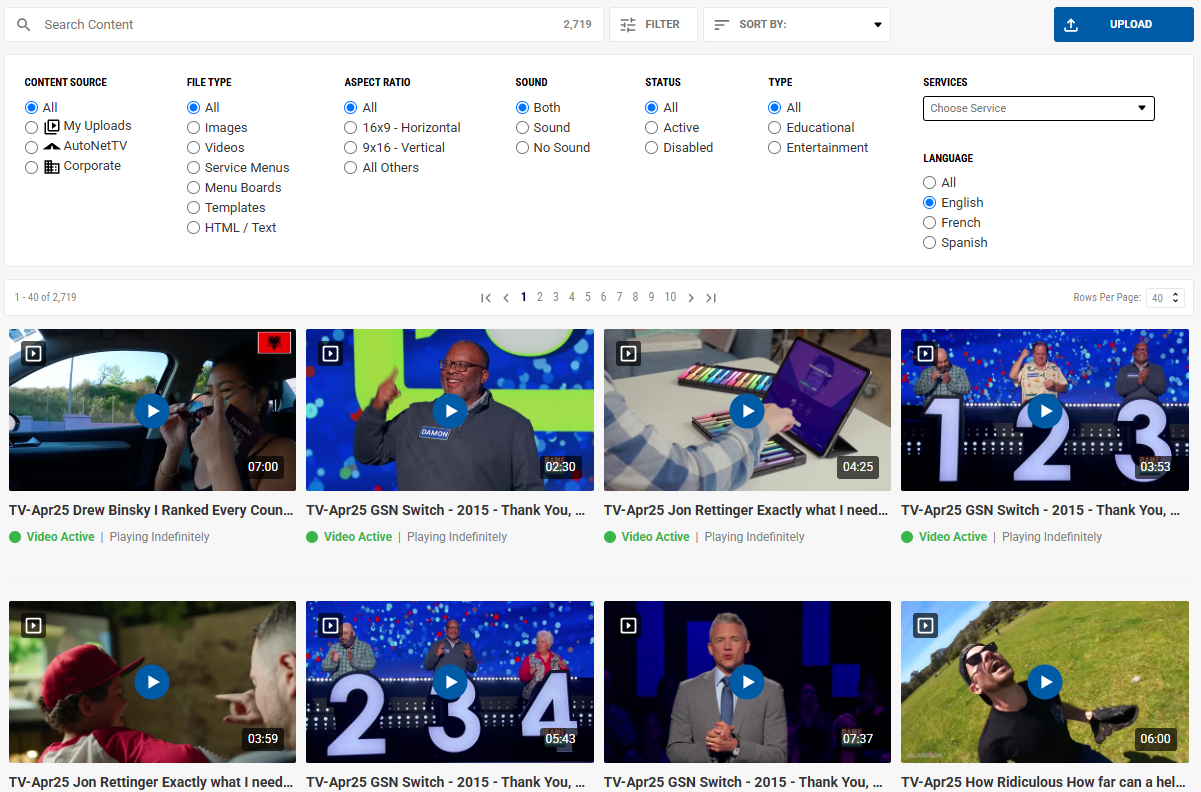
At the top of the Content screen, you'll find a search bar, a Filter open/close button - which reveals many more options for finding the right content, and a Sort By drop down. You can apply several Filters to find the correct files, and then apply the Sort By to make the results easier for grouping.

Each file has some icons in the top of the thumbnail image, to quickly show you some of the attributes of each file. The first icon shows you the file type, such as a Video, Image, Menu, Template, etc. The next icon shows you whether or not the file has sound. You'll also see a number in the bottom right corner of the thumbnail, which tells you the length, or runtime, of any file. This indicates how long that asset will display on a screen as part of a Program. By default, all images uploaded have a runtime of 15 seconds. You'll see below how to change this. Below the thumbnail you'll find the file name, whether or not the file is Active (available for display in a Program), and some Tags applied to the file.
To Preview any file, just click once on the thumbnail image. You'll also see some of the file attributes and Tags.

The Filter is a powerful tool to help you quickly find the right files you need. There are many options that drill down the content properties to display in the window below. Most are straight forward. An asset's Aspect Ratio is the ratio of the width to the height of an image, video or screen. For reference, the classic CRT tube TVs that were around for generations were a 4x3 aspect ratio (almost square), while the "wide screen" TVs that became the norm in the early 2000s are a 16x9 aspect ratio (the width is almost double the height). The Aspect Ratio of 9x16 (which is a portrait or vertical layout) is used for Zone 2 (often called the Side Zone) of many Program Layouts.
When you apply multiple Filters, the system is using "And", and not "or". This means that your criteria narrows the results by applying all of the Filters you select.

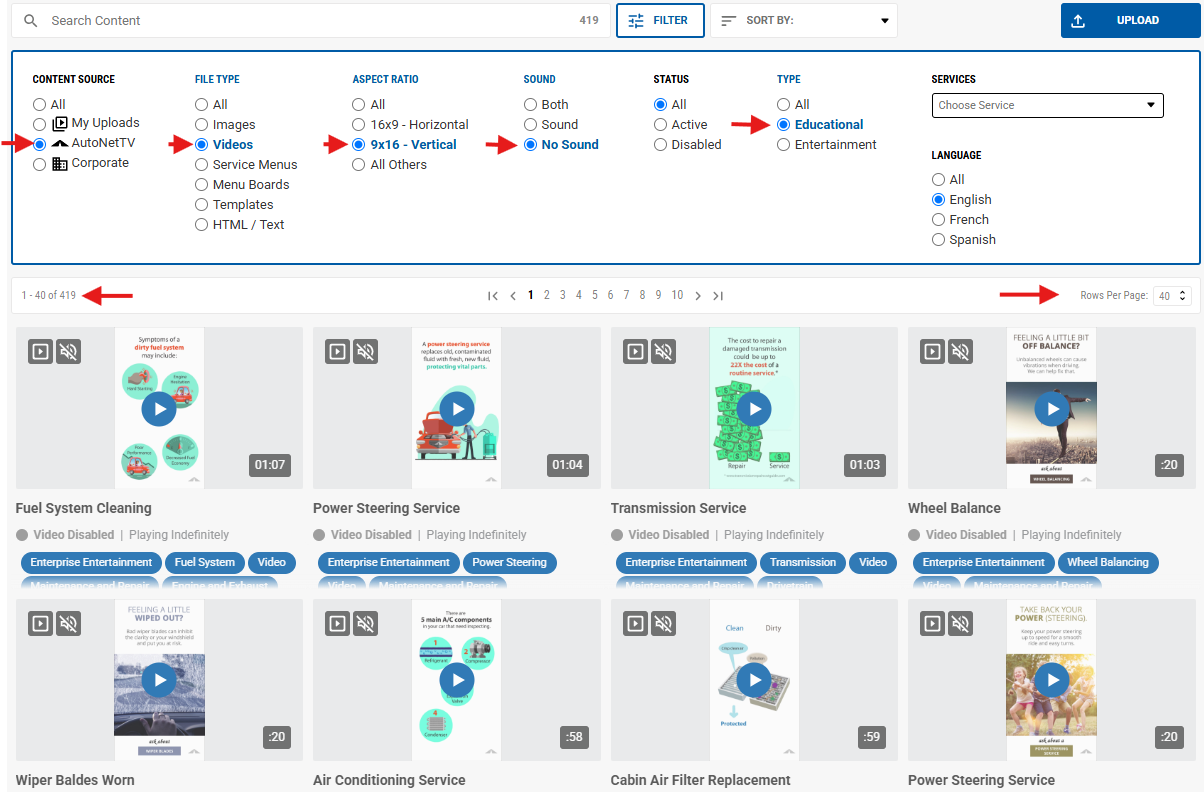
Here's an example of Filters applied for each of the options available. You'll notice there's a number shown in the "Search Content" input line. This # changes as you Search or apply Filters. It tells you how many files results were found that match your criteria.
You'll see below is a Search for the letters "maf", which returns any files that match the filters applied and have those letters, in that exact order, in their name.

In the Filter section you'll also find a drop down selection under Services. This is another way to find all files that match your other Filters, AND that are a part of a specific Service, such as Cabin Air Filter.

The files added to the system from AutoNetTV have numerous Filters and Tags applied. But, files added by regular Users don't have Filters or Tags auto applied, except for Content Source, File Type, Aspect Ratio, and Sound. Any additional Filters or Tags must be applied by the User who uploaded the file. Below is an example of how a Filter is mistakenly applied and no results are shown.
AutoNetTV creates and adds content to the system that are Tagged as "Educational" (Car Care content - focusing on aspects of the vehicle, parts, and service), and "Entertainment" - family-friendly videos designed to entertain customers sitting and waiting in your business. You'll see below that the Filter for Educational content is applied while also using the Filter for My Uploads - which is the User's content. But nothing is appearing since none of the User content has been Tagged for Educational (the number shows 0 file results). Recognizing which Filters have or have not been selected can help reduce your frustration with finding content.

From the above example, once the Filter for Educational is changed back to All, files matching the other criteria are now found.

To Edit any files that have been uploaded by you, or that have been created for your account, just click once on the thumbnail like you would to Preview the file. Next, click on the Edit button found at the bottom right of the Preview pane.

In the new menu window that opens, you'll find sections to edit the Settings and the Tags that apply to your file. Edit my content

To learn more about Uploading and Editing your content files, read this support article.
Was this article helpful?
That’s Great!
Thank you for your feedback
Sorry! We couldn't be helpful
Thank you for your feedback
Feedback sent
We appreciate your effort and will try to fix the article